Table of Contents
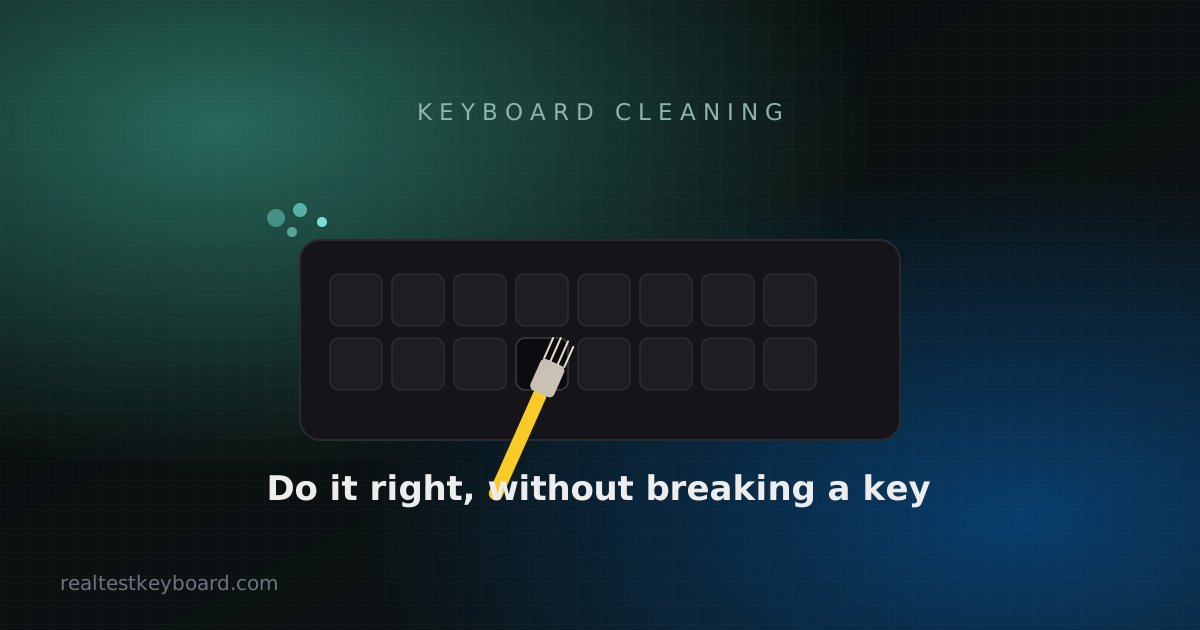
Pull a keycap off a keyboard that’s a year or two old and you’ll understand why this matters. The stuff that collects down there — dust, skin, crumbs, the occasional hair — isn’t just unpleasant. It’s the single most common reason keys start sticking, chattering, or dying altogether. A clean keyboard genuinely types better and lasts longer, and it costs almost nothing to keep one that way.
How far you go depends on what you’re cleaning and how bad it’s got. Below is everything from a two-minute weekly tidy to a full strip-down, with the parts that actually matter for each type of board.
What to have on hand
You don’t need a special kit. A can of compressed air, a bottle of isopropyl alcohol (90% or higher, because it evaporates fast and leaves no residue), some cotton swabs, a microfibre cloth, and — for mechanical boards — a keycap puller. A soft brush, even a clean paintbrush, helps sweep debris loose. That’s it.
One rule before you touch anything: unplug the keyboard, or power down and disconnect a wireless one. You’re about to introduce liquid and air pressure near live electronics, and a stray keystroke mid-clean can do odd things to whatever app is open.
The quick clean — do this often
This is the routine that prevents problems rather than fixing them, and it takes about two minutes. Turn the keyboard upside down over a bin and give it a firm but gentle shake; you’ll be surprised what falls out. Then run compressed air between the keys in short bursts, working across the board at an angle so you’re pushing debris out of the gaps rather than deeper in. Finish by wiping the tops of the keys with a microfibre cloth barely dampened with alcohol or water. Done every couple of weeks, this alone keeps most keyboards out of trouble.
The deep clean
When keys feel gritty, look grimy, or a switch has started acting up, it’s time to go further. How you do this depends entirely on the keyboard.
Mechanical keyboards
This is where mechanical boards shine, because you can take them apart. Take a quick photo of the layout first so you know where every key goes, then pull the keycaps with the puller — straight up, no twisting. Drop the caps in a bowl of warm water with a little dish soap and let them soak while you work on the board.
With the caps off, blow out the exposed switches and plate with compressed air, then clean around each switch with a barely-damp swab. Don’t drown them — isopropyl on a swab is plenty; you want moisture near the switches measured in drops, not puddles. Let the caps air-dry completely (give them a few hours; water trapped inside a keycap will haunt you), then press them back on using your photo.
Membrane and laptop keyboards
These you cannot take apart without real risk, so the approach is gentler and strictly surface-level. Compressed air and a brush are your main tools. Wipe the keys and surrounding case with a cloth dampened with a little alcohol — dampened, never dripping, because liquid that gets under the membrane or into a laptop can kill it. Never spray anything directly onto the keys. For a laptop especially, tip it slightly so any stray moisture runs away from the internals, not toward them.
Disinfecting without damage
If you want to sanitise as well as clean, isopropyl alcohol on a cloth is ideal — it kills germs and dries almost instantly. Steer clear of bleach and harsh household sprays, which can eat away key legends and plastics. And always apply the cleaner to the cloth, not to the keyboard.
When someone spills a drink
Act fast. Unplug the keyboard immediately and turn it upside down to drain — don’t wait to “see if it’s fine.” Water alone often dries out okay; anything sugary (soda, coffee with sugar, juice) leaves a sticky residue that will glue switches over the following days, so those boards need a proper clean, not just drying. Give it a full day to dry before powering back on. On a laptop, a sugary spill is genuinely urgent — power off, unplug, and get it looked at rather than gambling on the components underneath.
How often is enough
A light clean every couple of weeks and a deep clean once or twice a year suits most people. If you eat at your desk, share the keyboard, or have pets, lean toward the more frequent end — those are exactly the boards that develop sticky keys first.
When you’ve finished and everything’s dry, run a quick keyboard test to confirm every key registers cleanly before you get back to work. If one is still misbehaving after a clean, our guide to fixing a stuck or chattering key picks up where cleaning leaves off.
Test every key directly in your browser
Detect stuck keys, key chatter, input latency, and full rollover with our instant, zero-download diagnostic tool.
Start Keyboard Test →