Table of Contents
Rendering to texture is one of those techniques you have seen thousands of times without ever noticing it. Every mirror in a game, every soft shadow, every glowing bloom around a bright light, every “the world blurs when you open the menu” effect — almost all of it depends on the GPU drawing a scene into an off-screen image instead of straight to the display, and then using that image as an ingredient in the final picture. Rendering to texture is the plumbing that makes modern real-time graphics look the way they do. This explainer covers what it is, how it works conceptually, the effects it unlocks, and what it costs.
Drawing somewhere other than the screen
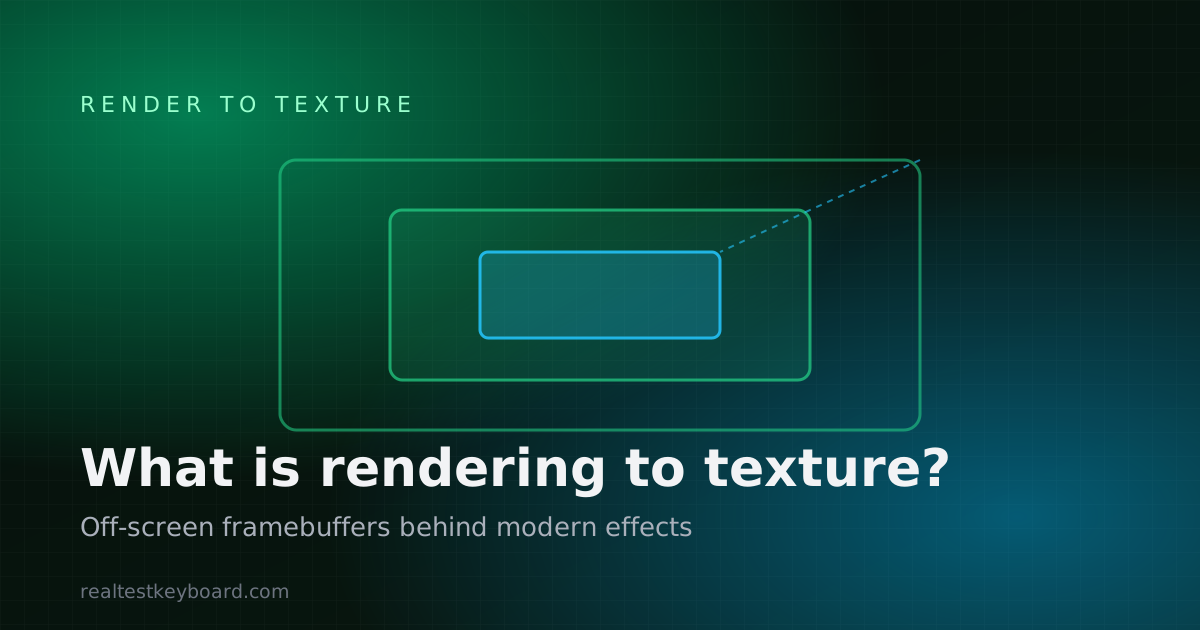
Normally, when a GPU renders a frame, the pixels go to the framebuffer that gets shown on your display. Rendering to texture changes the destination: instead of drawing to the screen, the GPU draws into a texture — an image held in GPU memory — that nothing displays directly. Later in the same frame, that texture can be sampled like any other image and used to build the picture you actually see.
The mechanism that makes this possible is the framebuffer object (FBO). Think of a framebuffer object as a swappable canvas. The GPU can be told, “for the next batch of drawing, don’t paint on the screen — paint on this off-screen canvas.” When that pass is done, the canvas becomes a texture the rest of the frame can read from. A single frame might switch canvases several times: draw the scene here, draw a blurred copy there, then combine them onto the screen at the end.
That ability — to capture the result of rendering and feed it back into more rendering — is the whole idea. Everything else is a clever application of it.
Why you’d ever want to do this
The screen can only show a finished image. But many effects need to look at a rendered image before finishing it. You cannot blur the scene, or detect its bright areas, or reflect it in a puddle, if the only place the scene exists is the display you’ve already committed to. Rendering to texture solves this by making the intermediate result available as data.
Once a rendered scene lives in a texture, it stops being “the final picture” and becomes raw material. You can sample it, transform it, combine it with other textures, and render that result — off-screen again if you like — as many times as an effect requires. This is what turns rendering from a single one-way pass into a flexible, multi-stage pipeline.
The effects it makes possible
Most of the visual richness in modern graphics is built from render-to-texture passes. A few of the big ones:
- Post-processing. Effects applied to the whole image after the scene is drawn — bloom, depth of field, motion blur, colour grading, tone mapping, vignettes. Each one reads the scene from a texture, processes it, and writes a new one. Bloom, for example, renders the scene, extracts its bright regions into a texture, blurs that texture across several passes, and adds it back — every step a render-to-texture operation.
- Reflections. A mirror or a wet floor is often rendered by drawing the scene from the reflected viewpoint into a texture, then mapping that texture onto the reflective surface.
- Shadow maps. Shadows are commonly produced by rendering the scene’s depth from the light’s point of view into a texture, then using that depth texture to decide which pixels are lit or in shadow.
- Deferred shading. Instead of lighting everything as it’s drawn, the renderer first draws surface information (positions, normals, material colours) into several textures — the “G-buffer” — then does all the lighting in a later pass that reads them. This lets a scene handle many lights efficiently.
- UI and minimaps. A minimap or a security-camera feed can be rendered into a texture and displayed on a panel inside the world.
The pattern is always the same: render into a texture, then use that texture as input to the next stage.
Why it matters beyond games
It’s easy to file this under “game graphics,” but render-to-texture underpins far more. WebGL-based data visualisations, 3D product configurators on shopping sites, map rendering, browser-based creative tools, and video effects all lean on off-screen render targets. Any time software composites, filters, or transforms a rendered image in real time, framebuffers are doing the work. The technique is a foundation, not a flourish — which is why it’s worth understanding even if you never write graphics code yourself.
The performance cost, honestly
Rendering to texture is powerful, but nothing is free. Each off-screen pass has real costs:
- Extra pixel work. Every full-screen pass shades a full screen’s worth of pixels. A post-processing chain with several passes can shade the whole screen many times over in a single frame, which is fill-rate heavy — much like the overdraw problem that makes particle effects expensive.
- Memory and bandwidth. Each render target is an image sitting in GPU memory, and reading from and writing to those images consumes memory bandwidth. Higher resolution and more passes mean more bandwidth used. (A browser can’t tell you exactly how much VRAM this uses — no web API exposes memory usage — but the cost is real and scales with resolution and pass count.)
- Switching overhead. Changing render targets isn’t instantaneous; each switch has some cost, so a pipeline with many small passes pays for the switching as well as the drawing.
Resolution multiplies all of this. Because most of these passes are full-screen, doubling the resolution roughly quadruples the pixels each pass must handle. That’s why heavy post-processing scales so sharply with display resolution.
How this connects to testing
Because render-to-texture is so central and so scalable, it makes a good performance workload: add passes or raise the resolution and you can watch throughput respond. If you want to measure that on your own hardware, the practical companion to this article — how to test rendering to texture performance in a browser — walks through running the rendering to texture test and reading the results. And for the wider context of what in-browser graphics tools can and can’t measure, the overview on how to test GPU performance puts render-to-texture alongside stress, shader, and particle tests.
Frequently asked questions
What is the difference between a texture and a framebuffer?
A texture is an image stored in GPU memory. A framebuffer (specifically a framebuffer object) is the render destination — the “canvas” the GPU draws onto. Rendering to texture works by attaching a texture to a framebuffer object, so that drawing into that framebuffer fills the texture with pixels you can sample later.
Is rendering to texture the same as post-processing?
Not quite — post-processing is one major use of rendering to texture, not the technique itself. Rendering to texture is the general ability to draw into an off-screen image and read it back. Post-processing effects like bloom and depth of field are built on that ability, but so are reflections, shadow maps, and deferred shading.
Why does render-to-texture slow things down?
Each off-screen pass shades a full image’s worth of pixels and moves data to and from GPU memory, and effects often chain several passes together. That adds pixel (fill-rate) cost, memory bandwidth cost, and the overhead of switching render targets. The more passes and the higher the resolution, the more all three add up.
Can a browser tell me how much video memory these textures use?
No. Browsers have no API that exposes VRAM usage or capacity, so a web-based tool can’t report how much memory a render target consumes. What a browser can measure well is timing — frame rate, frame time, and consistency — so the effect of heavy render-to-texture work shows up as changes in those numbers rather than as a memory figure.
Do I need render-to-texture for simple graphics?
No. A basic scene that draws directly to the screen with no reflections, shadows, or post-processing doesn’t need it. Render-to-texture becomes necessary once you want to process or reuse a rendered image — which is most of what makes modern graphics look polished, but not a requirement for simple rendering.
Rendering to texture is the quiet backbone of nearly every impressive real-time effect, and once you see the “draw into an image, then use that image” pattern you’ll spot it everywhere. When you’re ready to see how your own hardware handles it, try the rendering to texture test and watch the frame rate change as the off-screen workload grows.
Test every key directly in your browser
Detect stuck keys, key chatter, input latency, and full rollover with our instant, zero-download diagnostic tool.
Start Keyboard Test →